SCAMP Summer of Hardware
All the hardware I did over the summer for SCAMP
Recap
Much like with the software, I also spent the summer building the actual payload that will carry the computer, power supply and camera. This work happened in parallel with the software development in the summer and I also did not document it well when I did it. Regardless, I will be going over the highlights here.
Material Selection
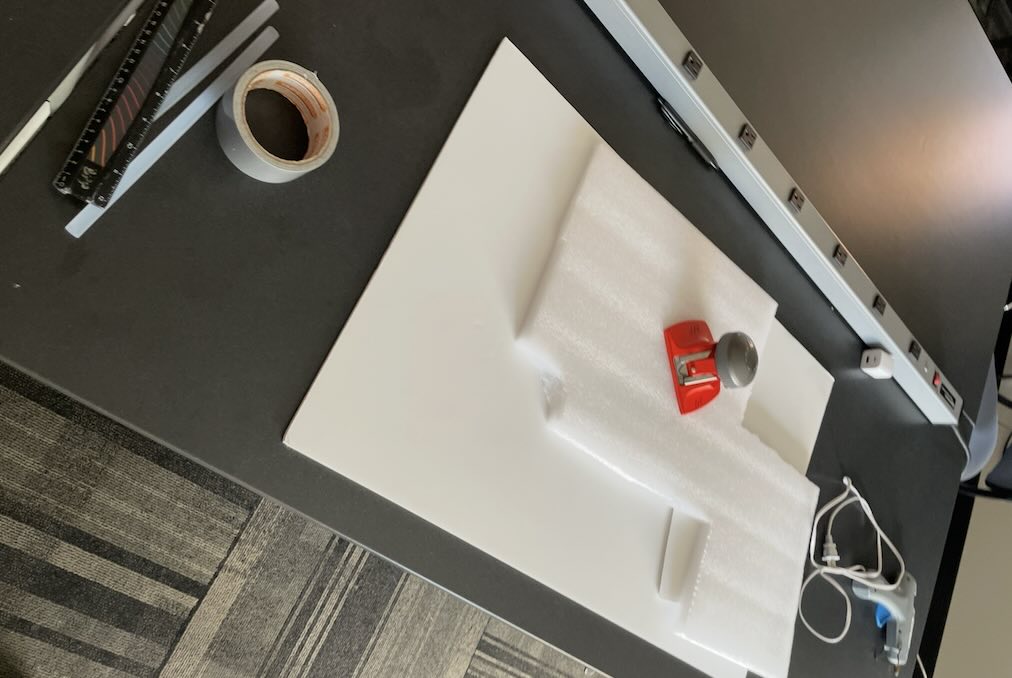
The balloon payload program had materials that were recommended for building payloads. The material of choice is formcore since it is really light and also durable enough to keep the payload walls. To make the payload water tolerant, it was wrapped in packing tape. Finally to close the lid and keep the main structure together hot glue and ducktape was utilized. All of these components were aquirred from scraps that I found in my lab and at the club.
Prototype Version 1
With the materials all squared away, I now had to put together the structure and get the system spun up. So my initial go at this was tragic to say the least. So this was my initial plan for how I was going to organize the components. This is wild because when I was doing this I completely forgot that the camera was a thing. Clearly hardware was not my thing then.
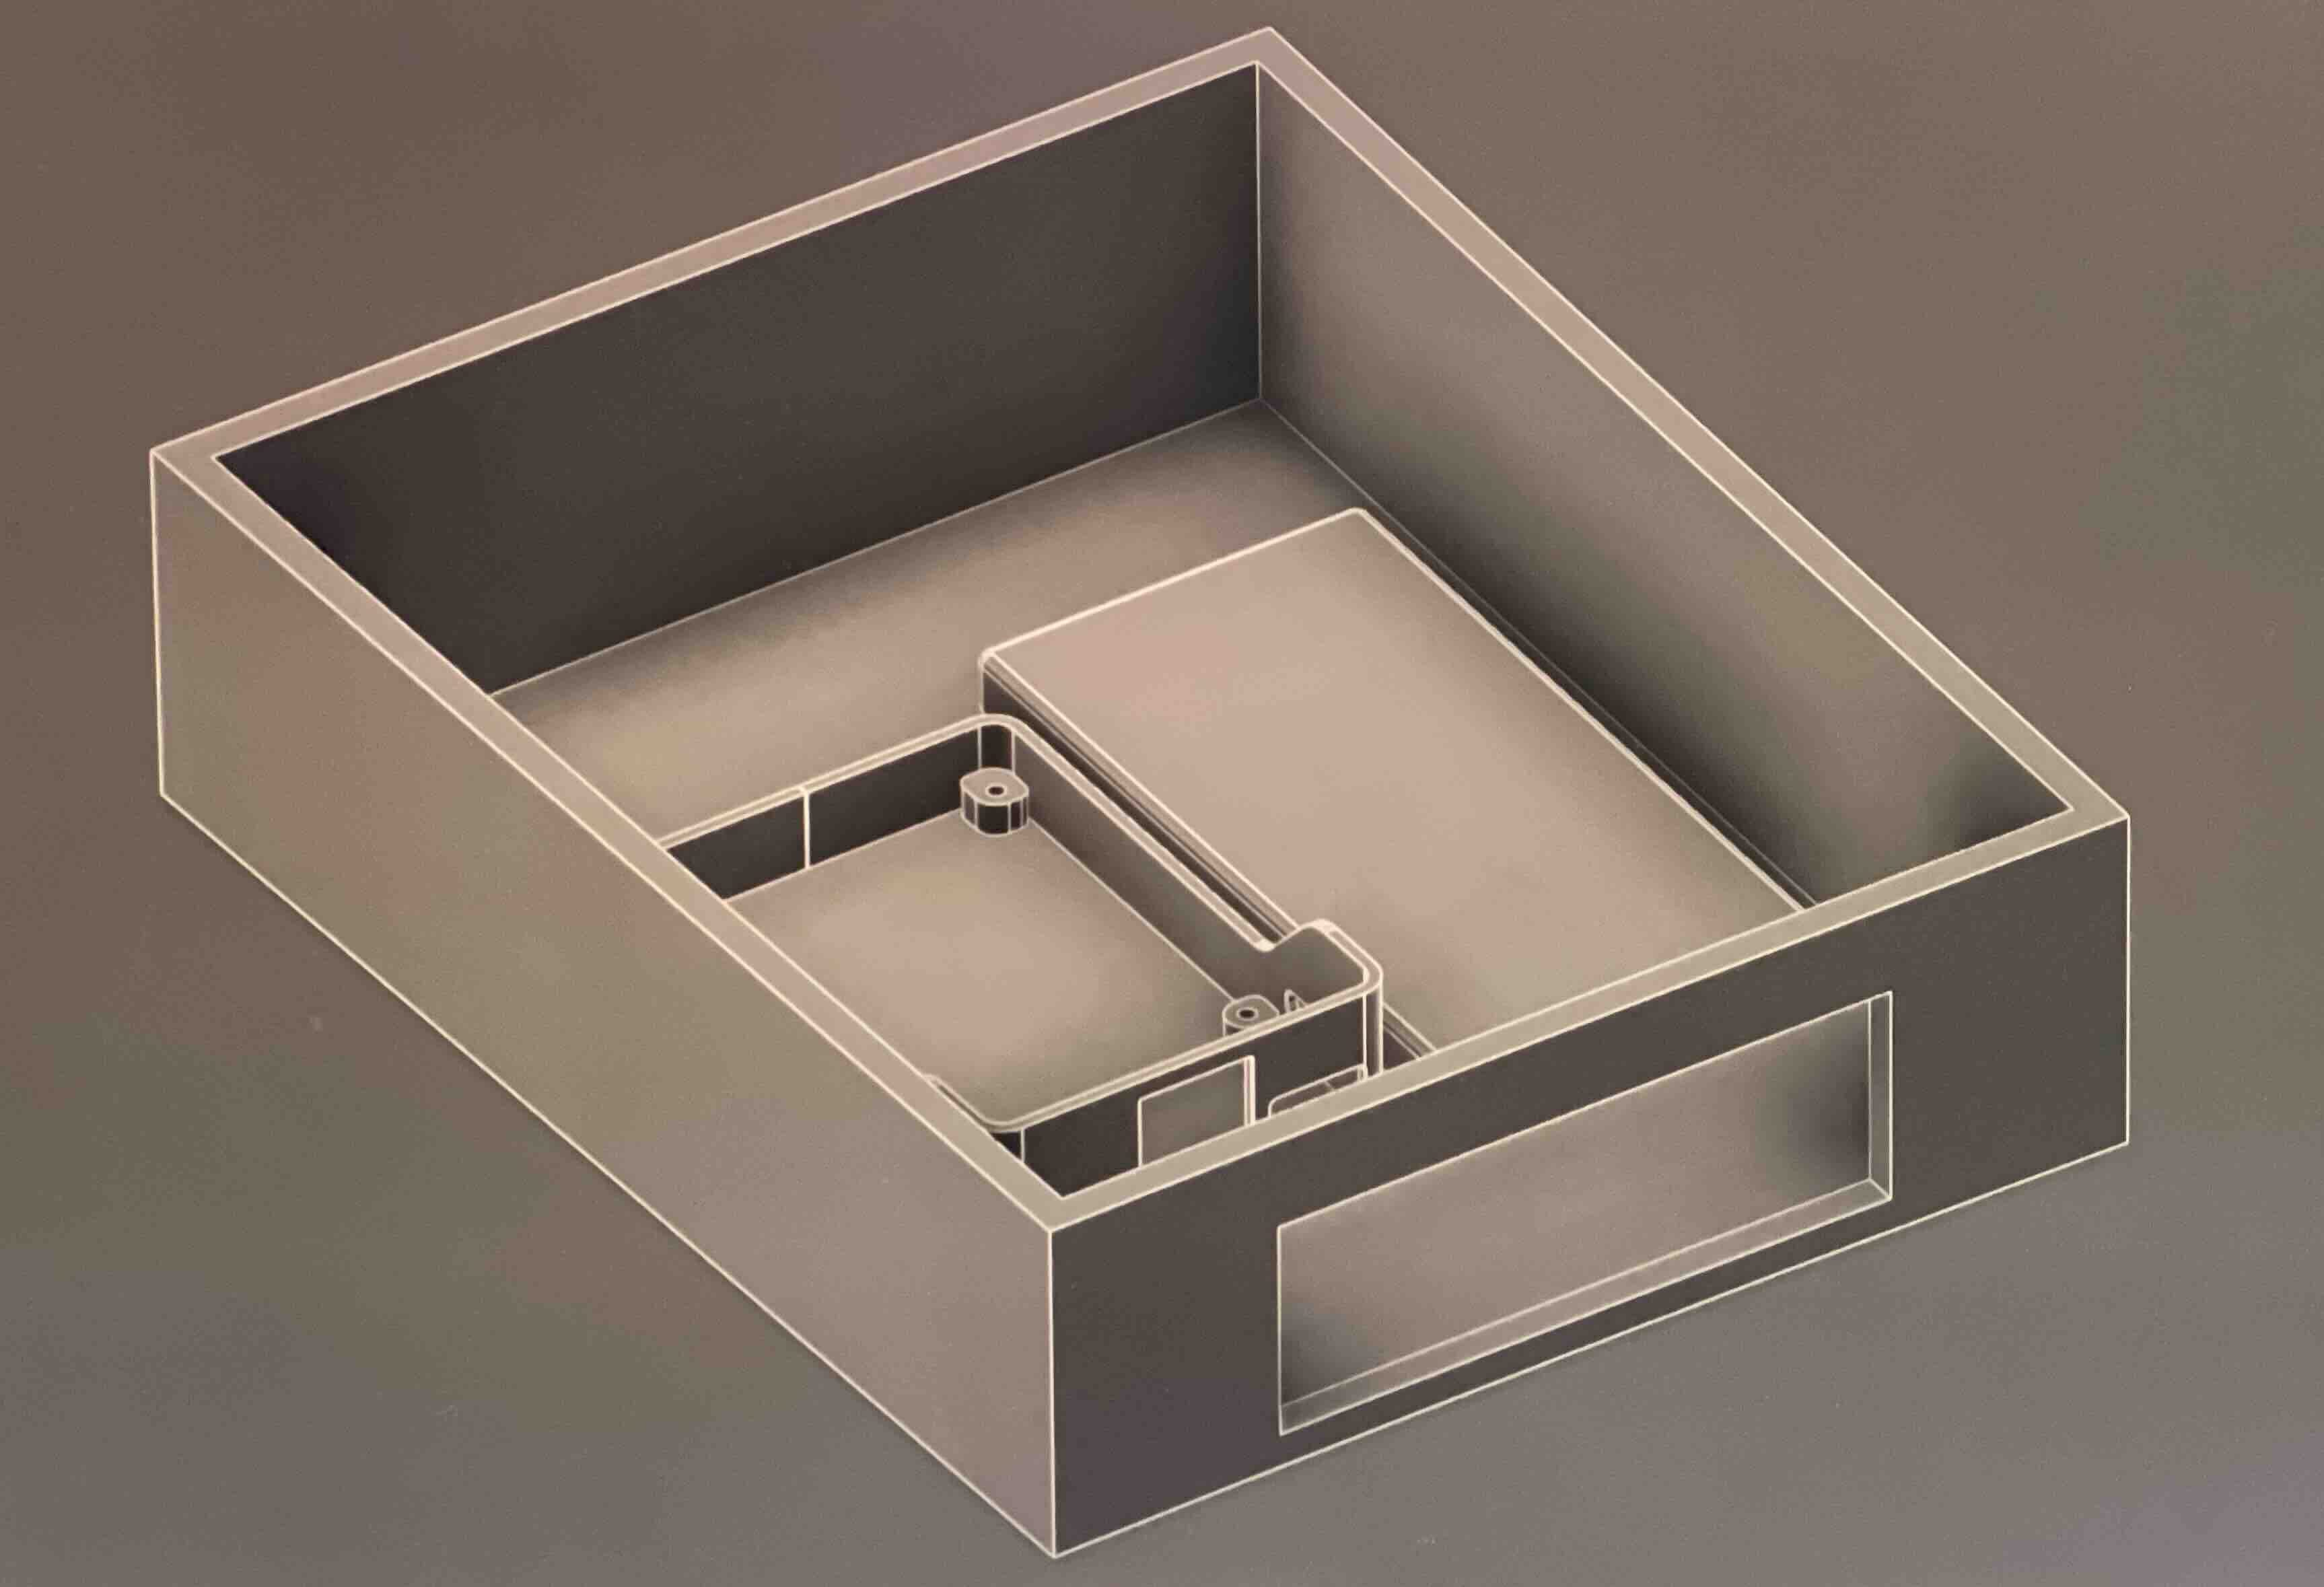 Figure 1: Organization of Hardware
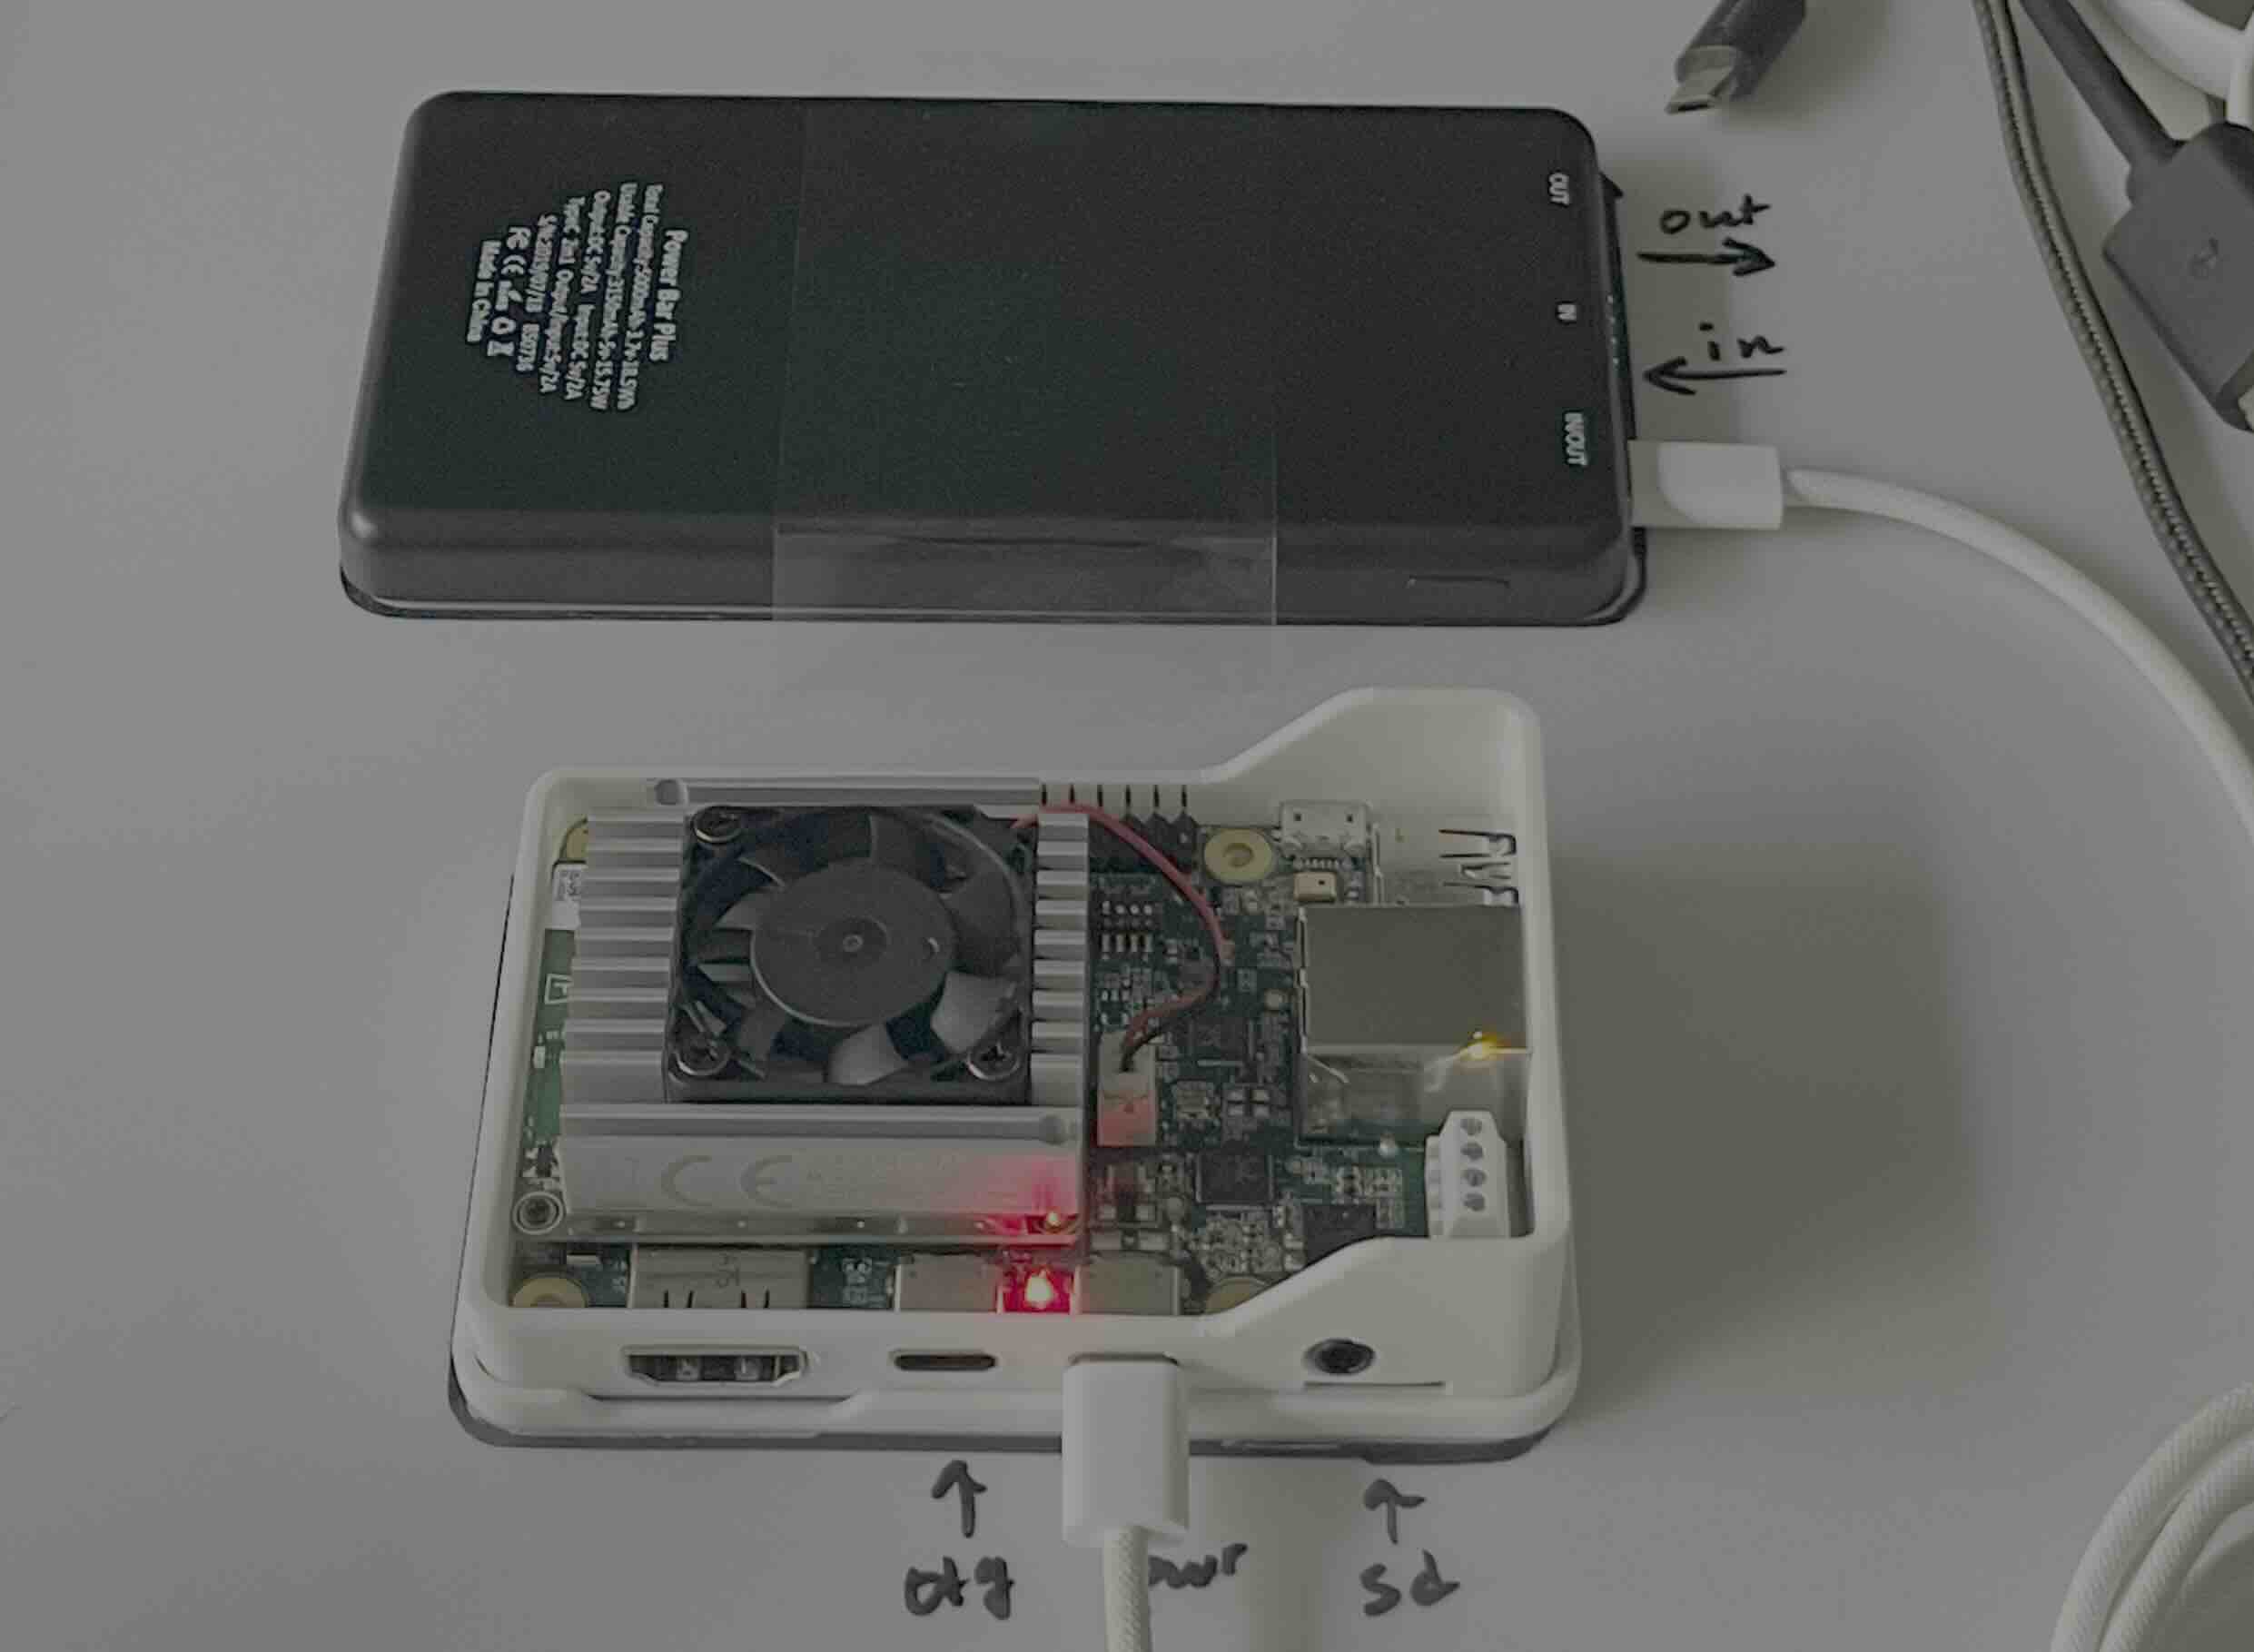 Figure 2: Organization of Hardware in real life
And then finally this was the box that was made around that setup. Box is a strong word but it was something.
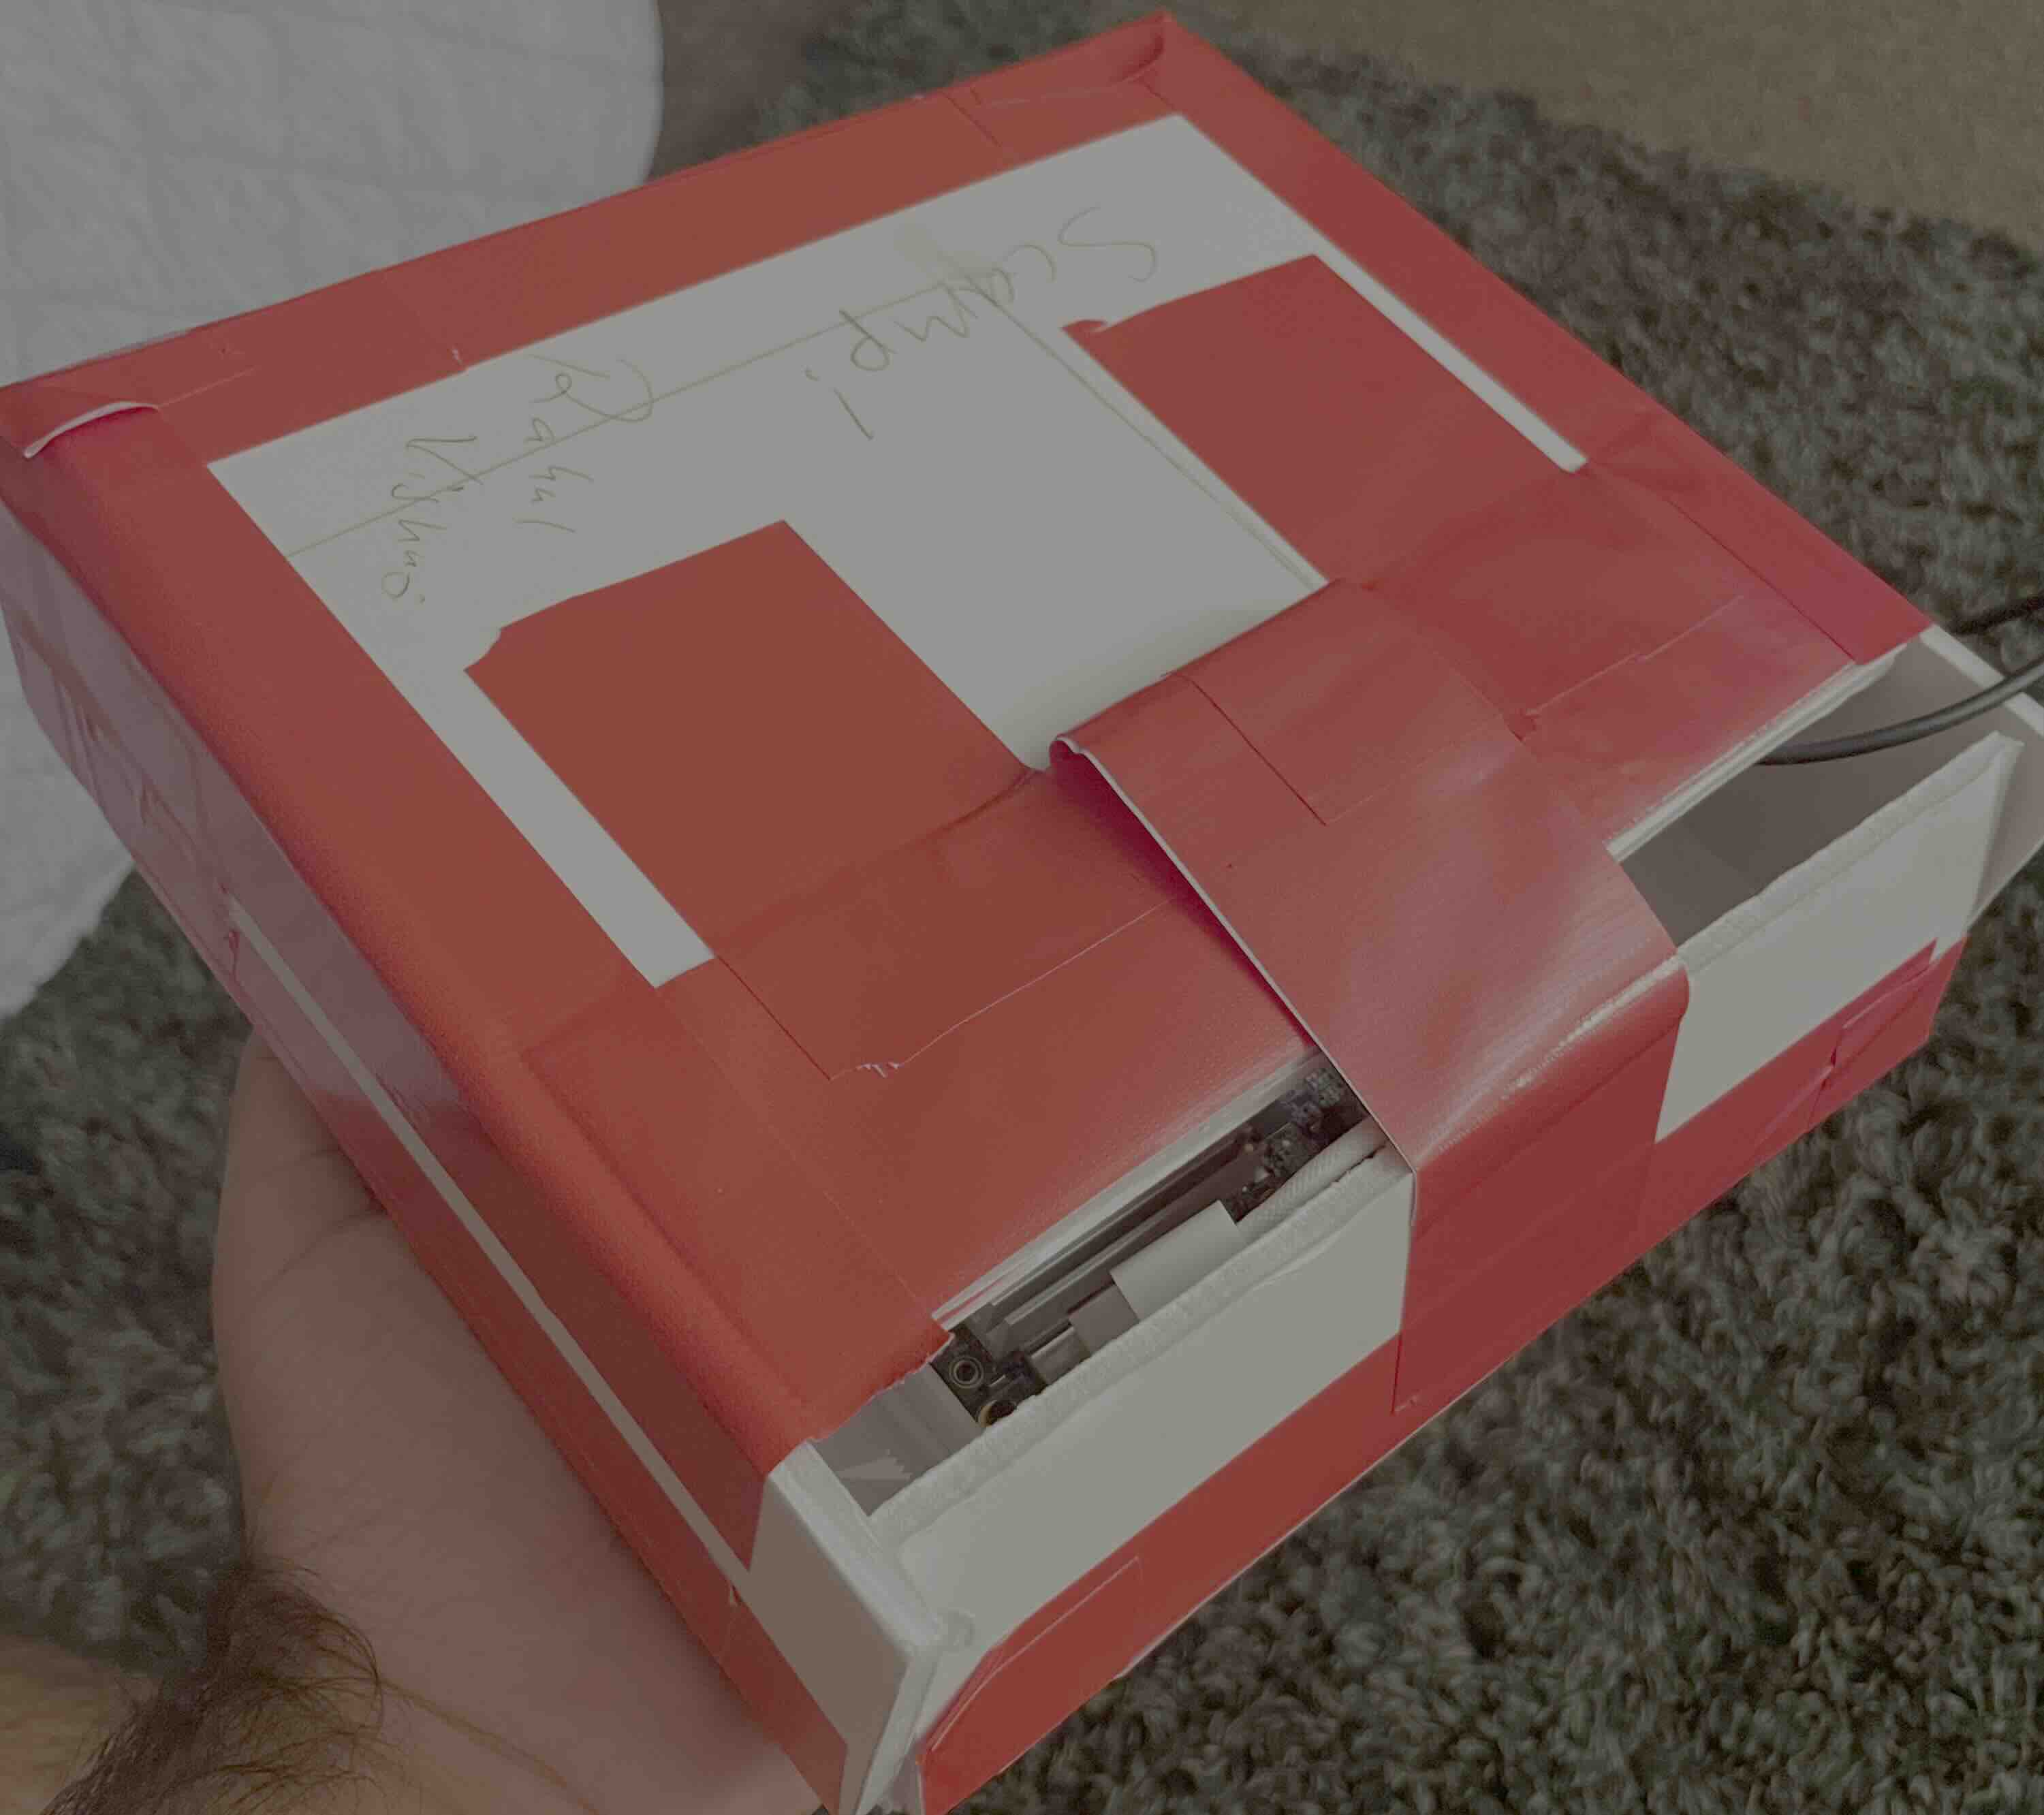 Figure 3: Initial Hardware Box
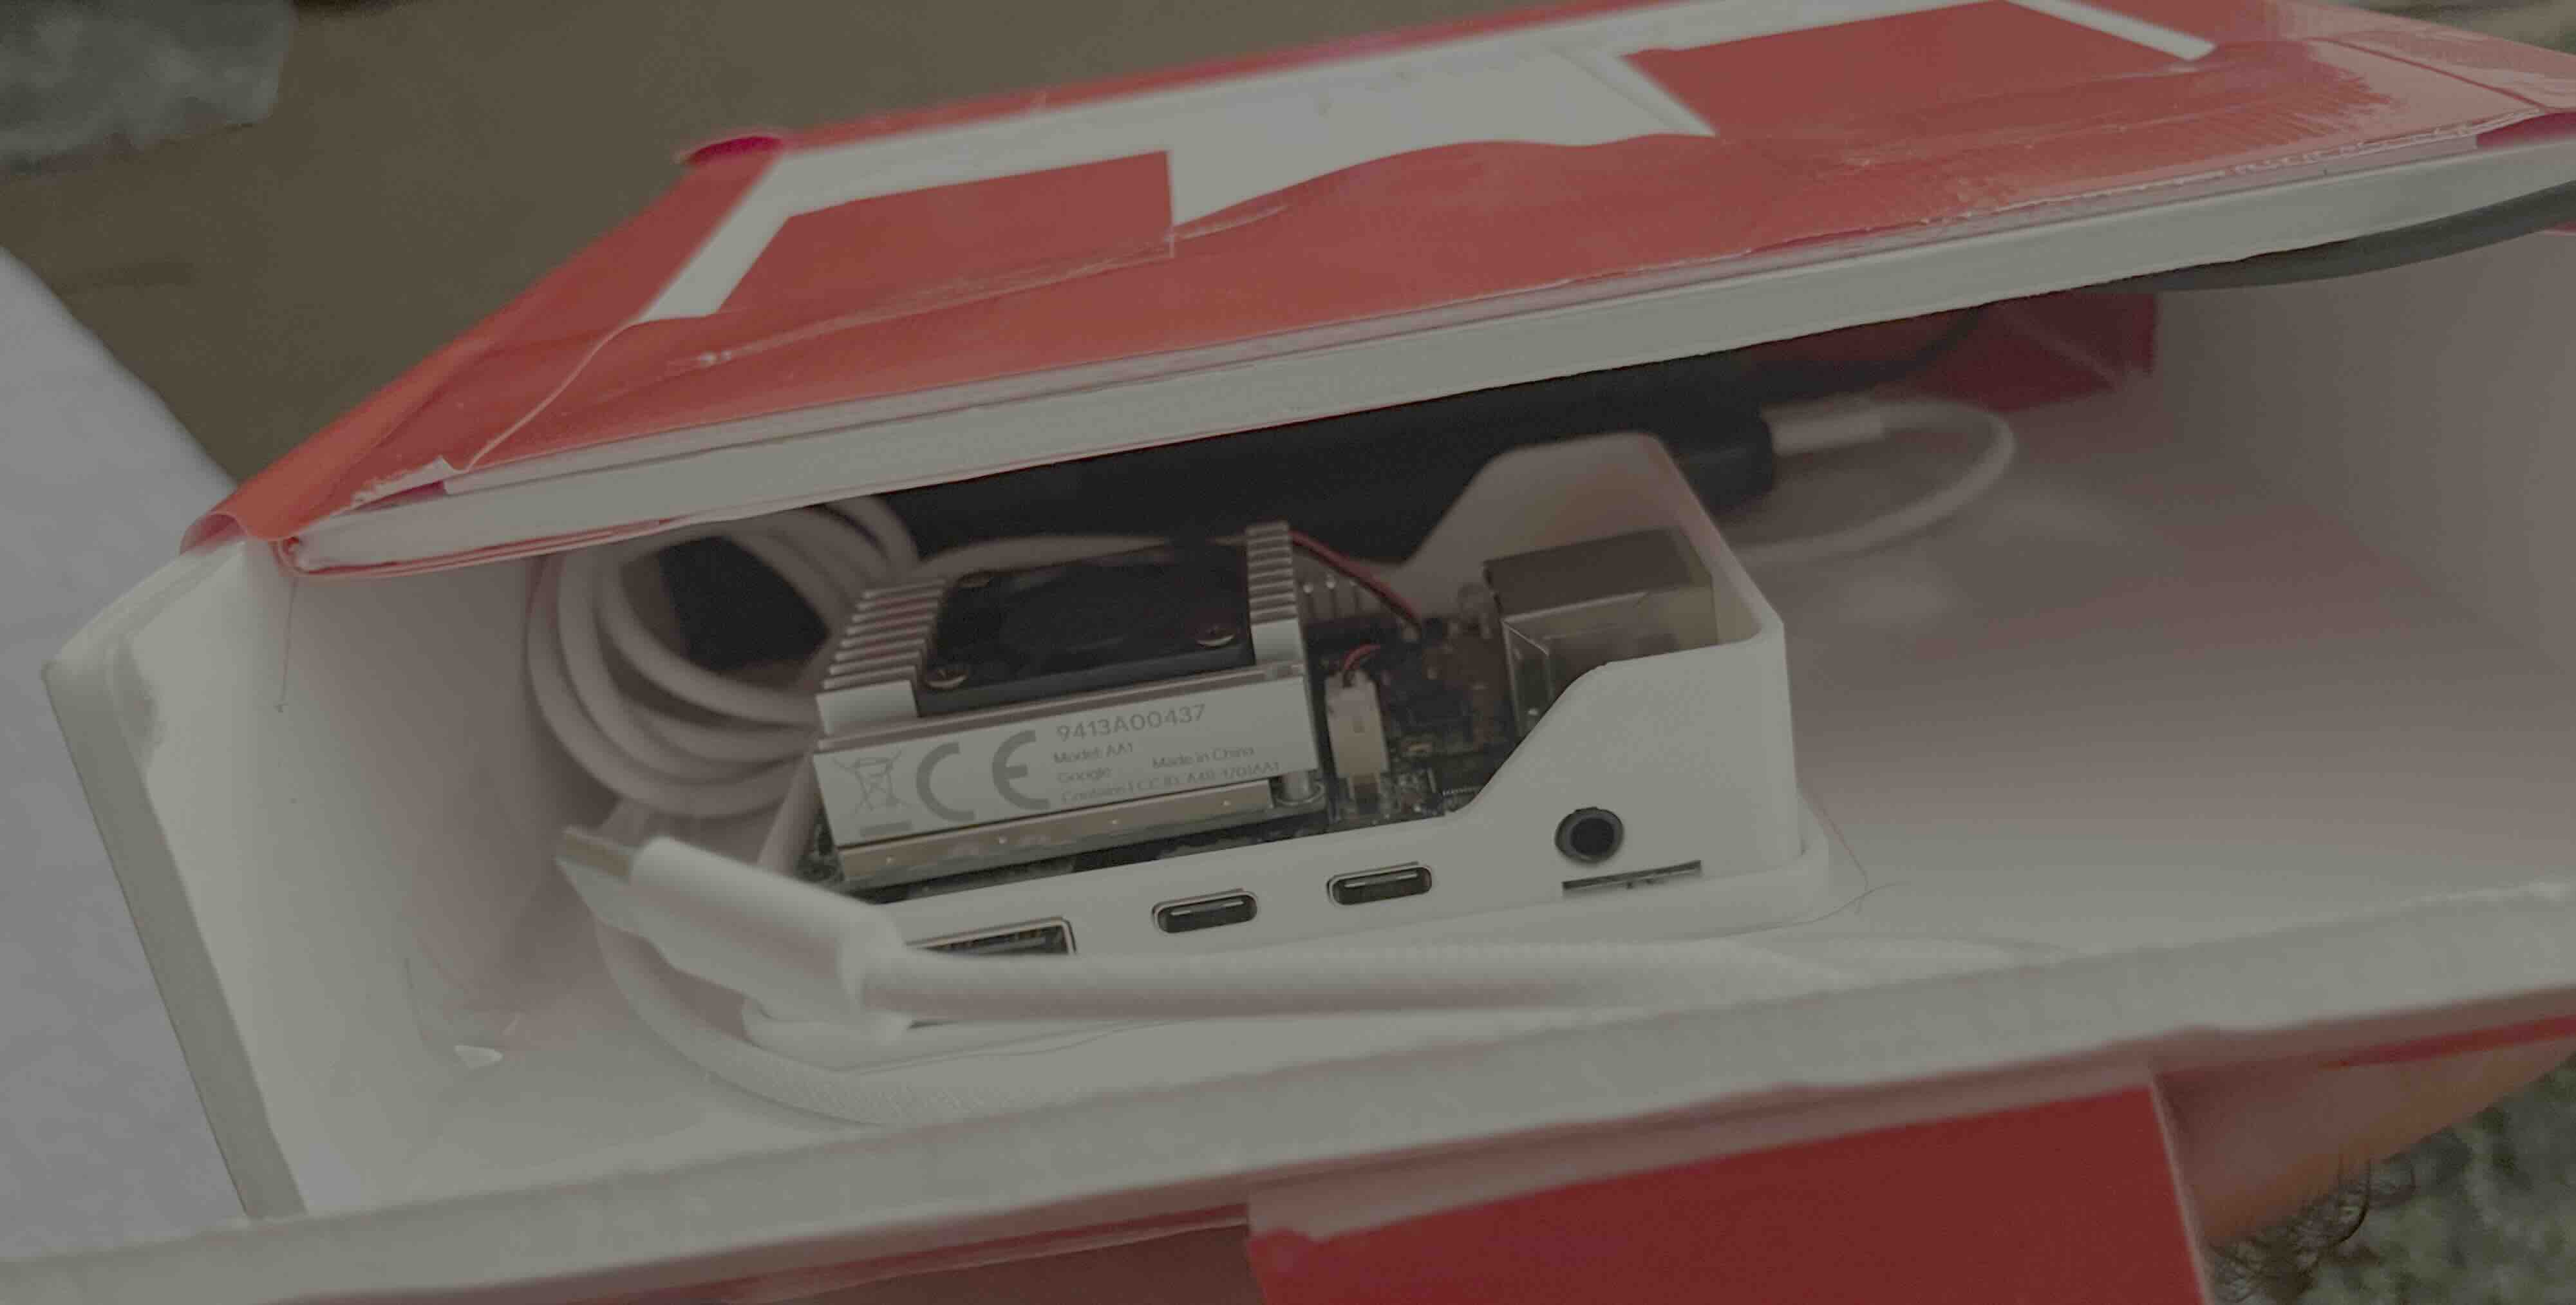 Figure 4: Openning of the Initial Hardware Box
Now when I presented this to my mentor, I was told to redo everything and this time, I got guidance on how to build my box for the payload. The biggest issue with this initial box was that it was too flimbsy and did not actually close correctly. Furthermore it was too big for what was actually in the payload which would make it hard to fly.
Hardware Box Version 2
On my second go, I rearranged the internal components so that I can make the box more compact and sturdy. To do this I decided to mount the computer on the lid and put the battery in sideways. Spoiler for later, but this was a super bad idea. Anyways here is what the new setup looked like:
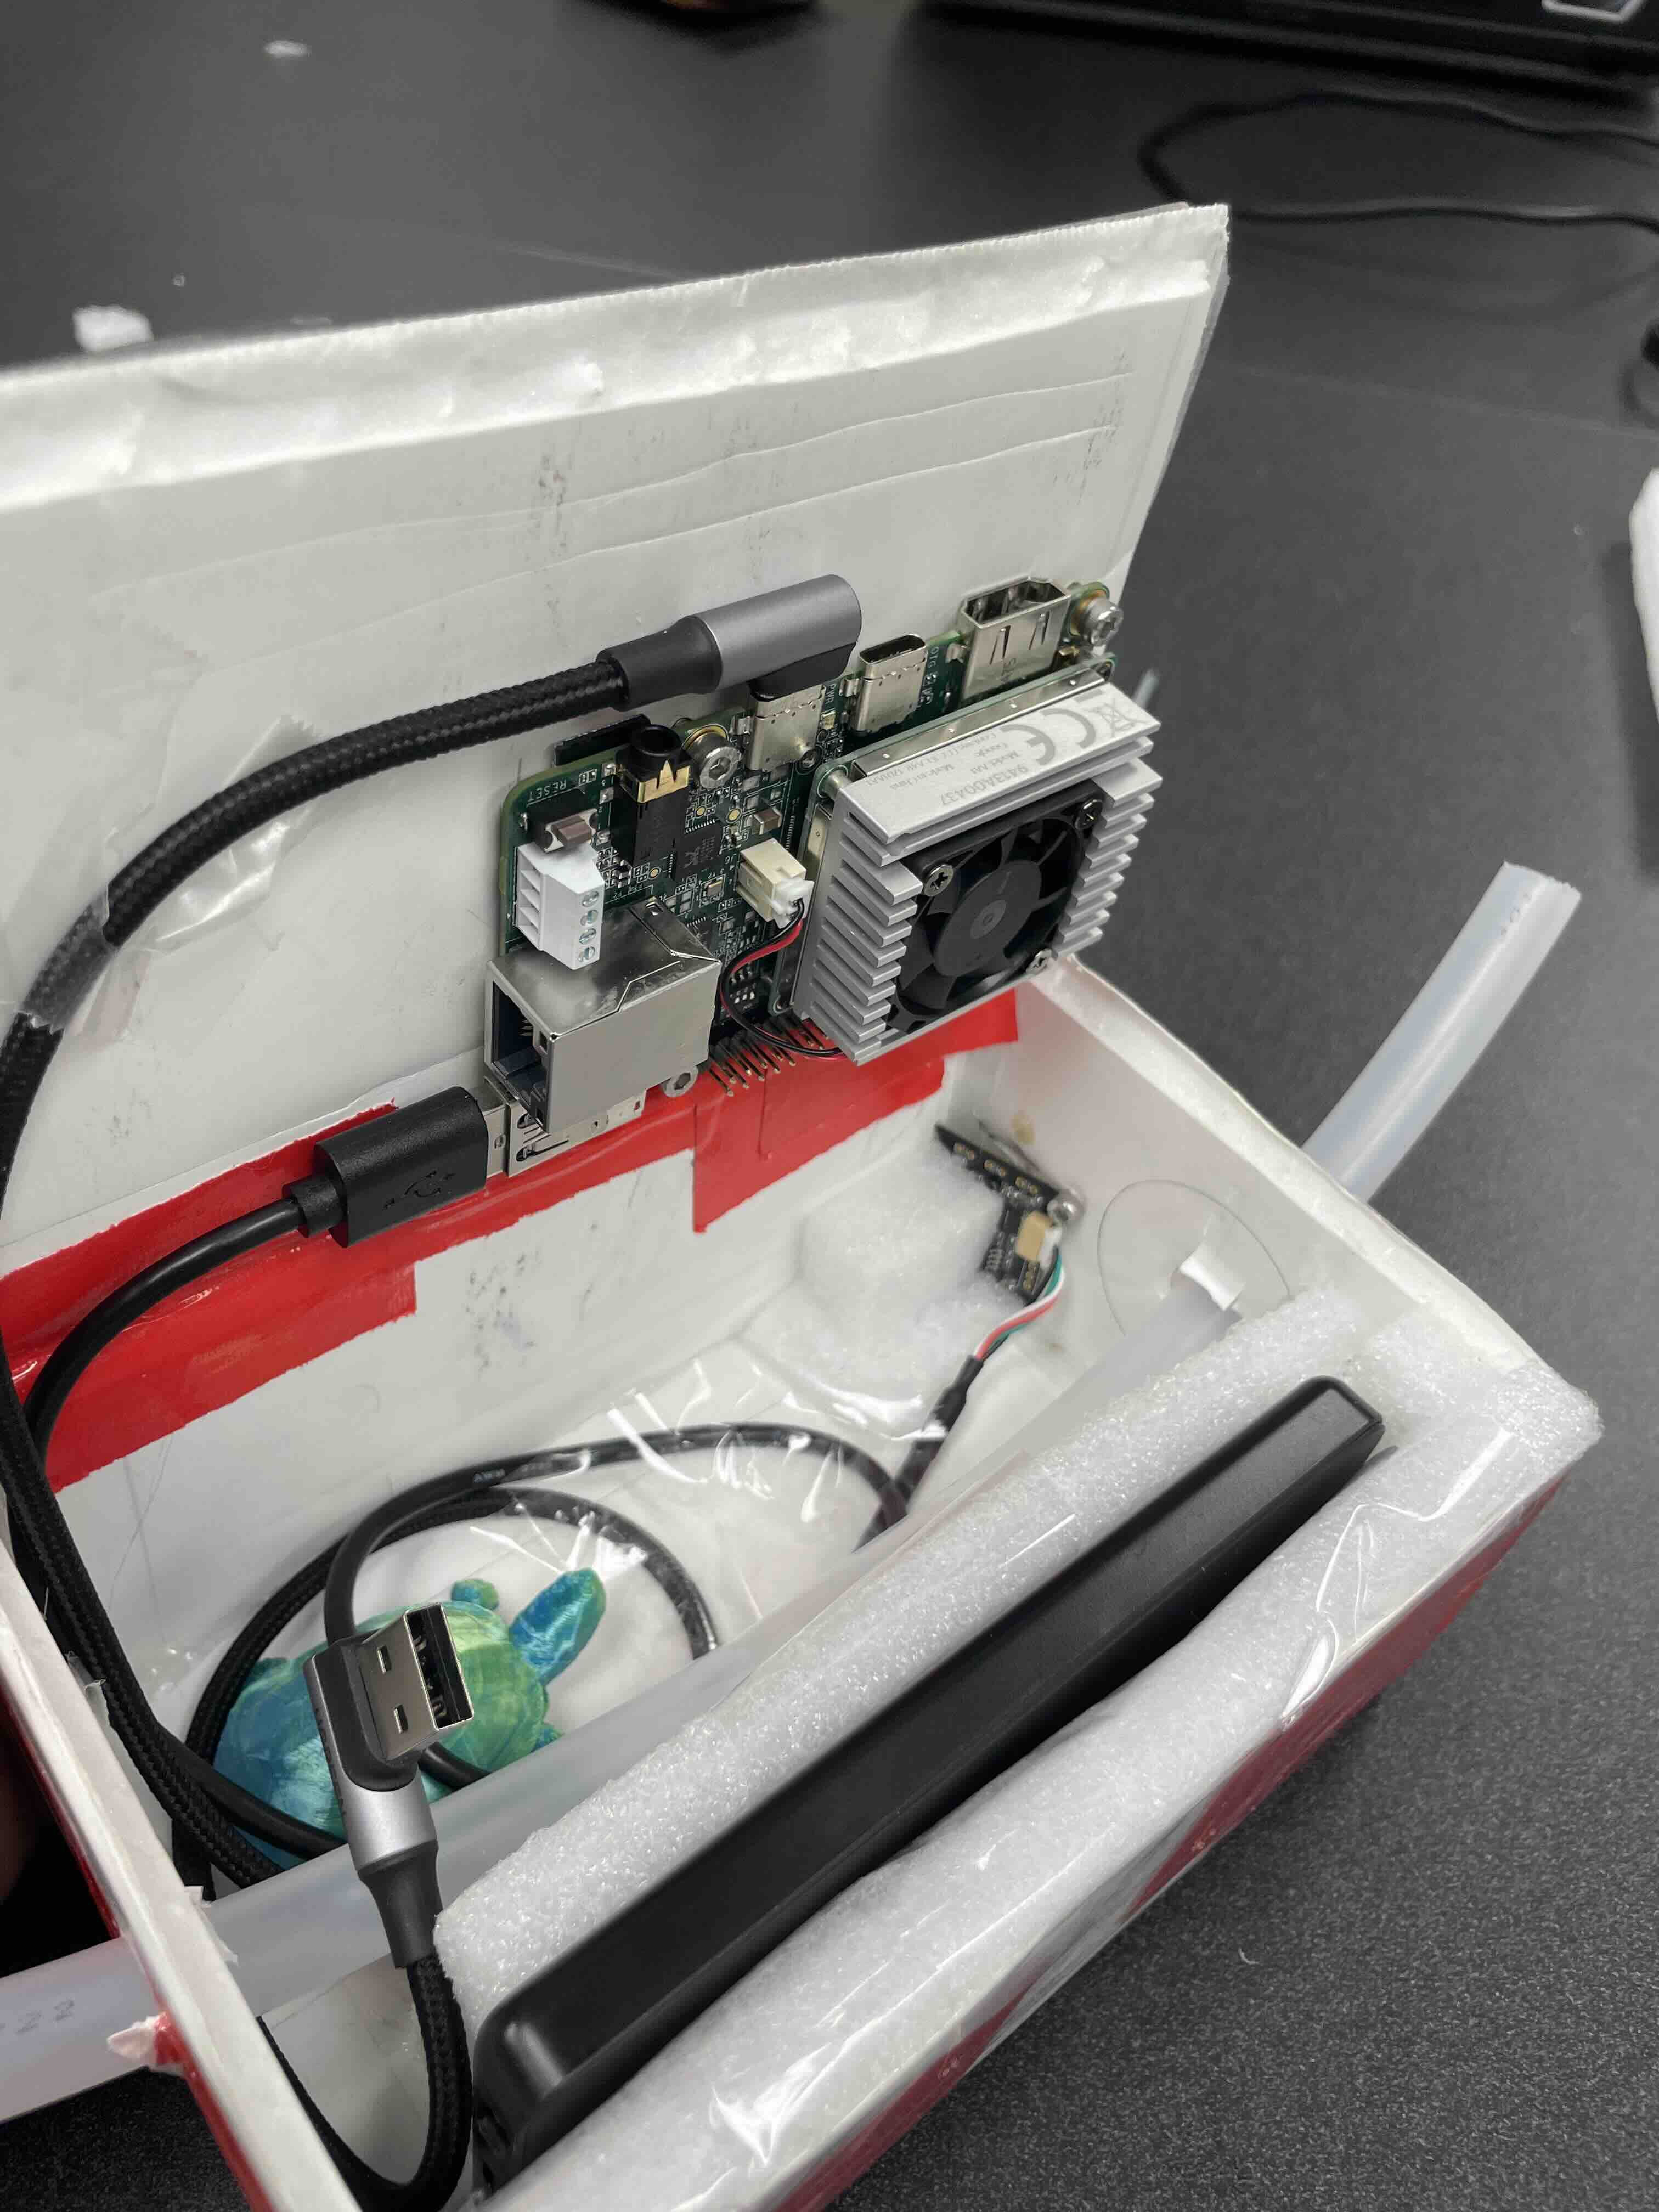 Figure 5: Hardware Setup for Maiden Flight
Next Steps
Now that I had the box and the computer in there with the camera and power bank, I was practically ready to fly the payload. The first flight was scheduled for September!!